This page is now obsolete and has been
superseded by this one: Bolt Beam.
The "Bolt Beam" is the attachment point for the
wing to the fuselage.
It will transfer all the tow-line loads from the tow hook to the wings during launch as well as handle the regular flight loads.
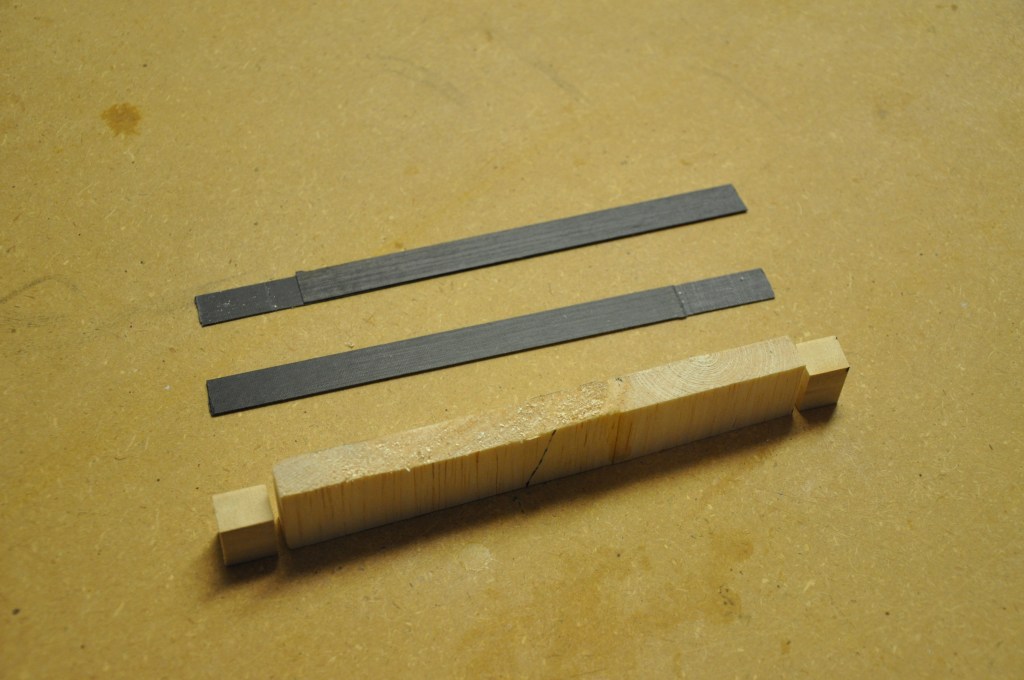
I prepared a top and bottom carbon cap from left-over wing spar carbon stock.
The taller center wood is vertical grain balsa and the two end blocks are basswood.
It will transfer all the tow-line loads from the tow hook to the wings during launch as well as handle the regular flight loads.
I prepared a top and bottom carbon cap from left-over wing spar carbon stock.
The taller center wood is vertical grain balsa and the two end blocks are basswood.

I used thickened epoxy to glue the wood pieces
together and then shaped the combined wood to match the beam profile
as shown on the plans.
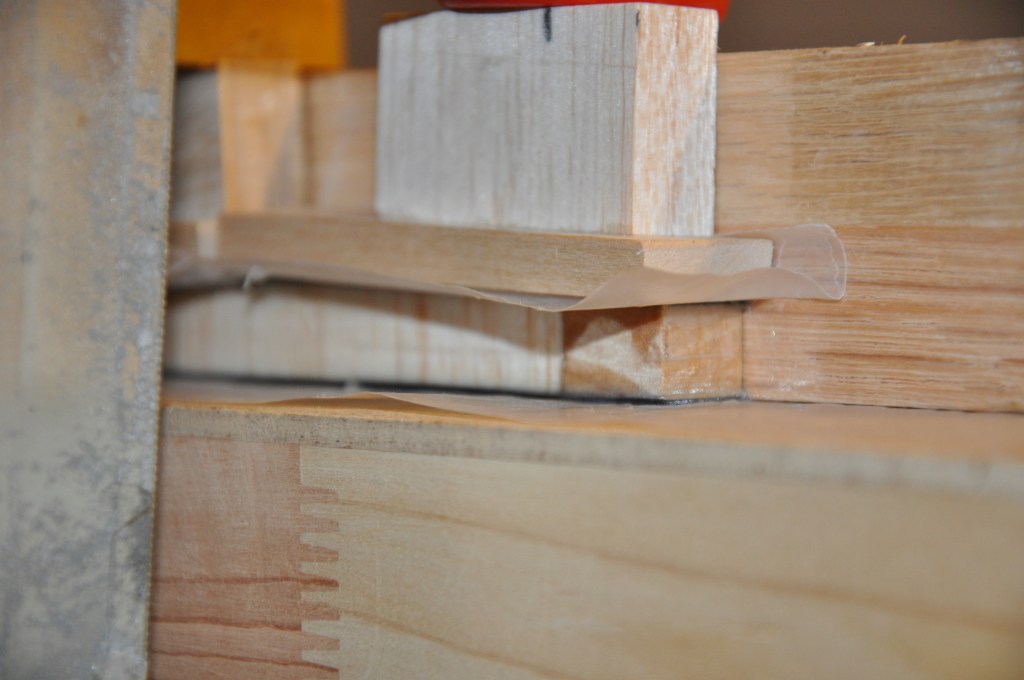
Next, using thickened epoxy I glued the top and
bottom carbon caps to the wood and clamped them for curing.

As you can see, I used a lot of clamps and some
wood blocks to ensure even distribution of the clamping force.
-- I need this beam to be very sturdy.
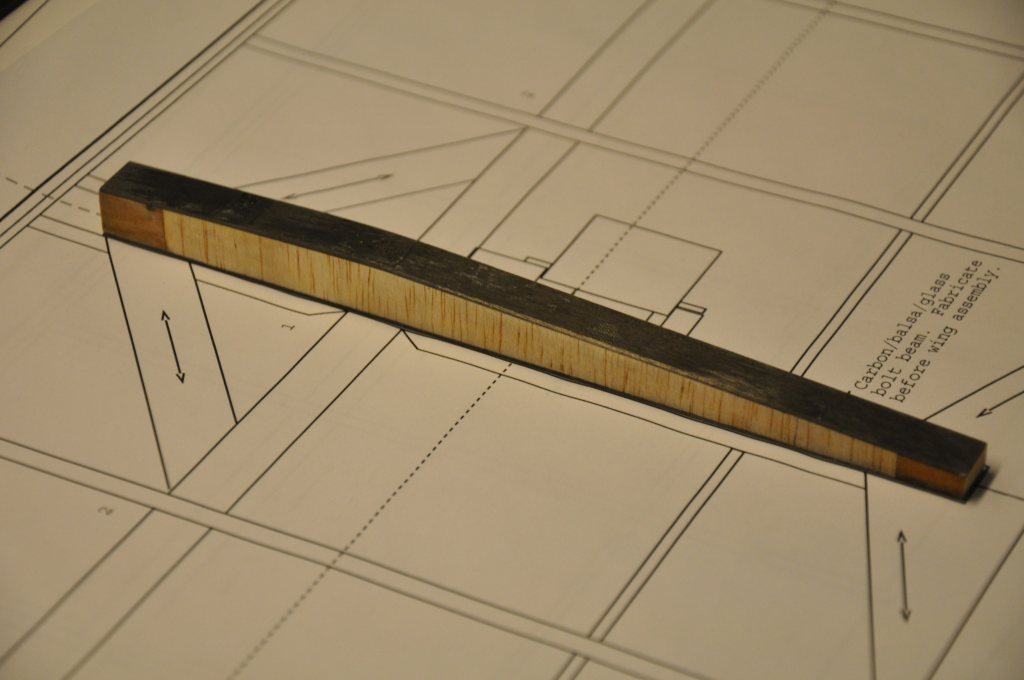
Once the epoxy had cured, I remove the beam from
the clamps and cleaned up any splooge.
I also checked my progress against the plans (from the top, as seen here and from the side on the fuselage drawings.
I also checked my progress against the plans (from the top, as seen here and from the side on the fuselage drawings.
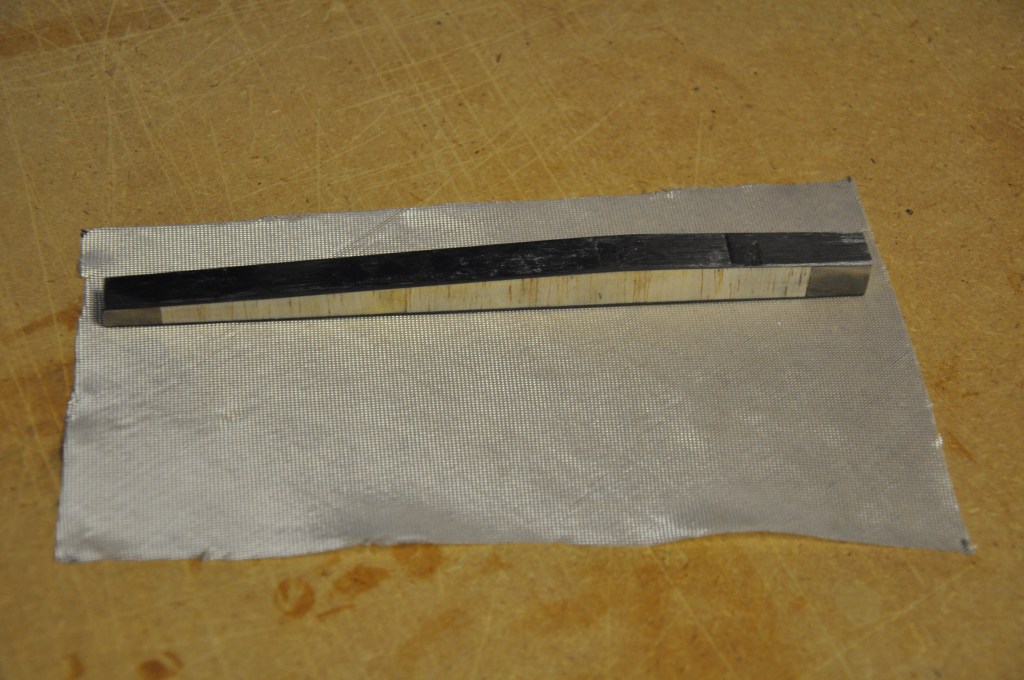
The bolt beam plans next call for wrapping the
beam in 45 deg. bias fiberglass.
I cut the glass large enough to wrap around the beam two times. This design is intended to keep the carbon from peeling from the wood because of load stresses.
I sprayed a light mist of 3M Super 77 on the glass to keep it in place while I wrapped it around the beam.
I cut the glass large enough to wrap around the beam two times. This design is intended to keep the carbon from peeling from the wood because of load stresses.
I sprayed a light mist of 3M Super 77 on the glass to keep it in place while I wrapped it around the beam.
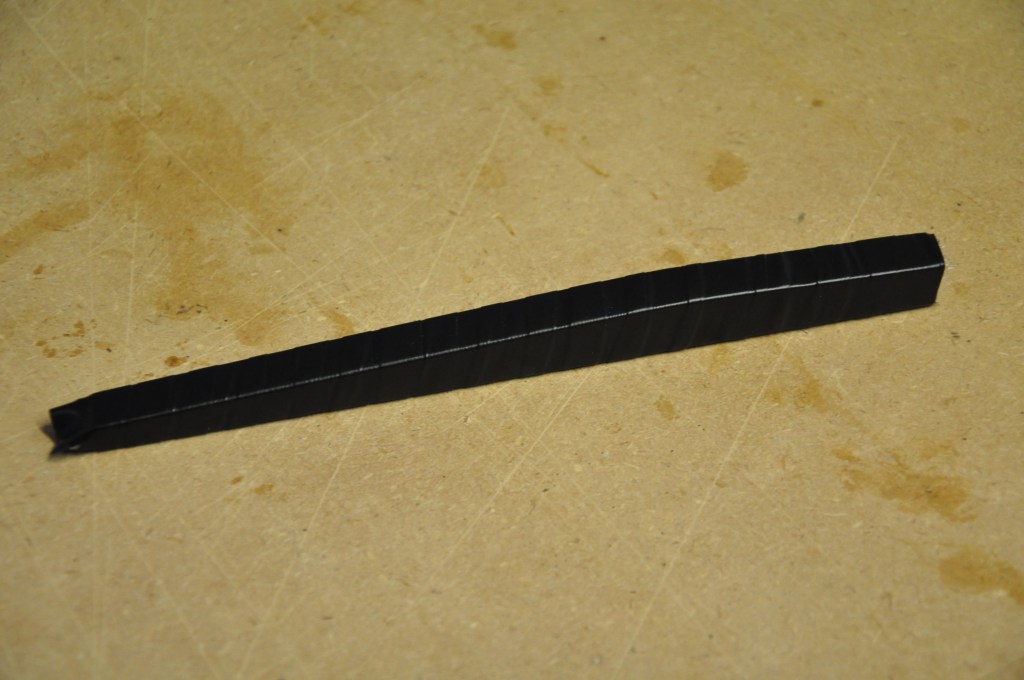
I then wetted out the glass with thin epoxy and
wrapped the beam very tightly with electrical tape.
This was a new technique for me, but one that I have come to value greatly. I provides a quick and secure clamping action all around the part to be glued and then is easy to remove when the curing is finished.
To speed the curing I set the beam over a heat source.
This was a new technique for me, but one that I have come to value greatly. I provides a quick and secure clamping action all around the part to be glued and then is easy to remove when the curing is finished.
To speed the curing I set the beam over a heat source.
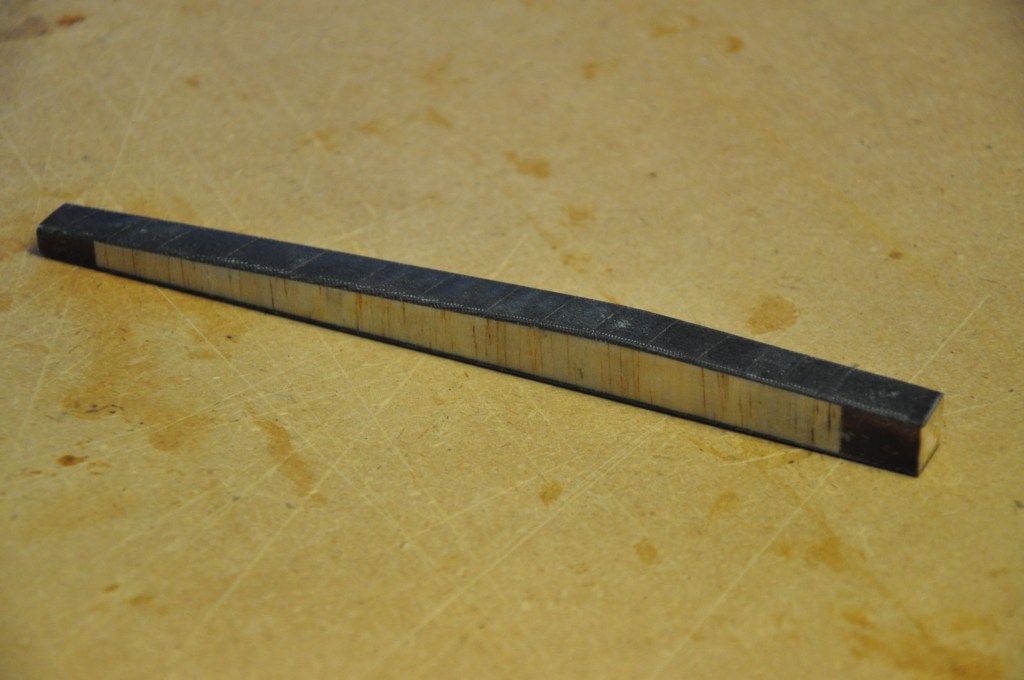
Once the beam cured I removed the electrical
tape.
You can see here the result.
You can see here the result.
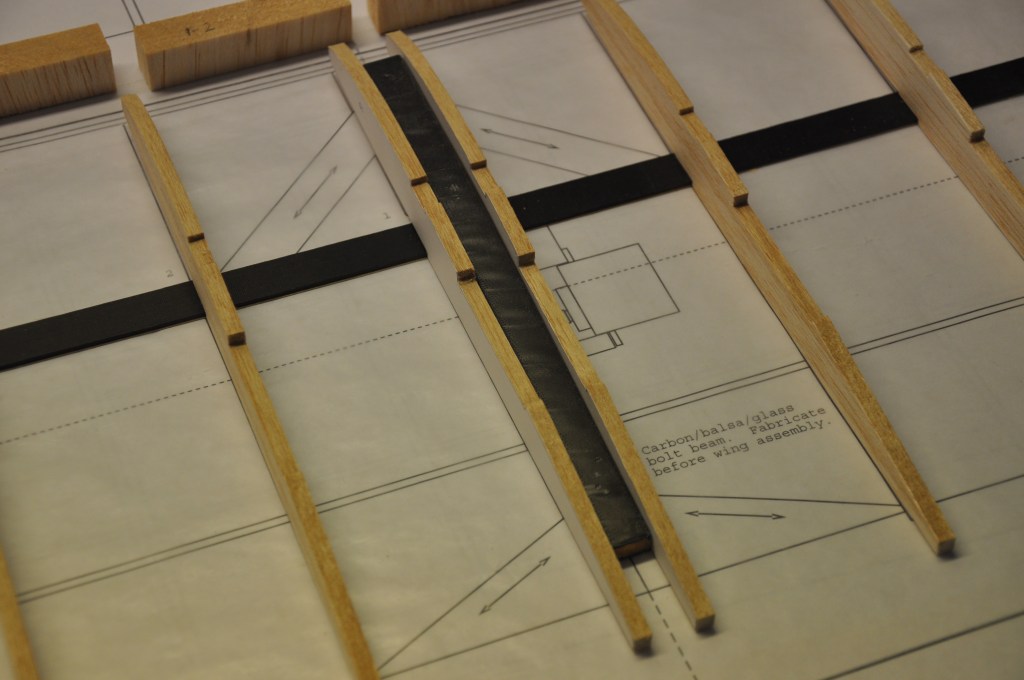
I dry-fit the center wing panel components and
placed the bolt beam in its place.
Here we are interested in verifying that the beam will not protrude beyond the ribs. -- Of particular importance is making sure that there will be no interference with the spoiler.
Here we are interested in verifying that the beam will not protrude beyond the ribs. -- Of particular importance is making sure that there will be no interference with the spoiler.

Another shot of the bolt beam in place -
verifying proper clearances.
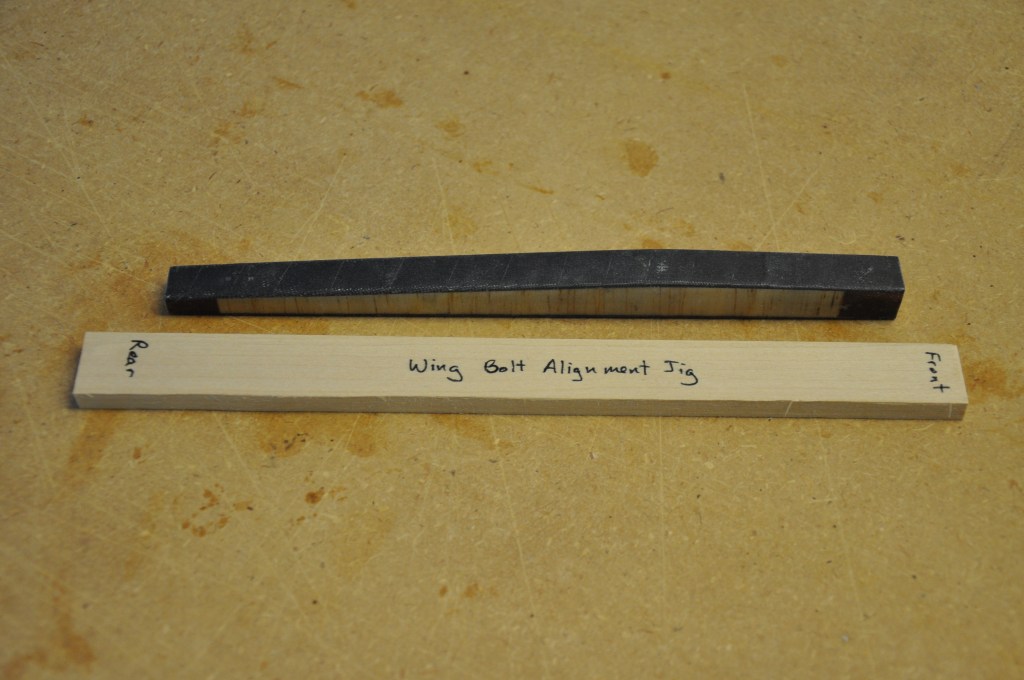
I prepared a basswood support that I would use
for drilling the bolt holes.
By having this support, I would then be able to use it as a jig when the time came for locating the bolt holes in the wing.
By having this support, I would then be able to use it as a jig when the time came for locating the bolt holes in the wing.
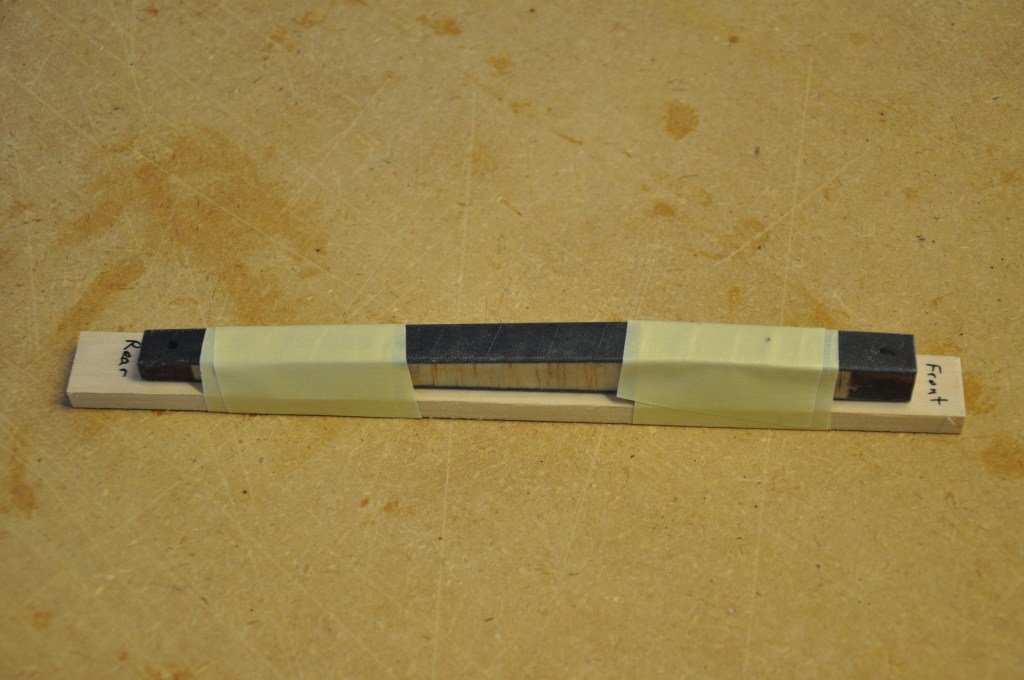
I taped the bolt beam to the support in
preparation for drilling.
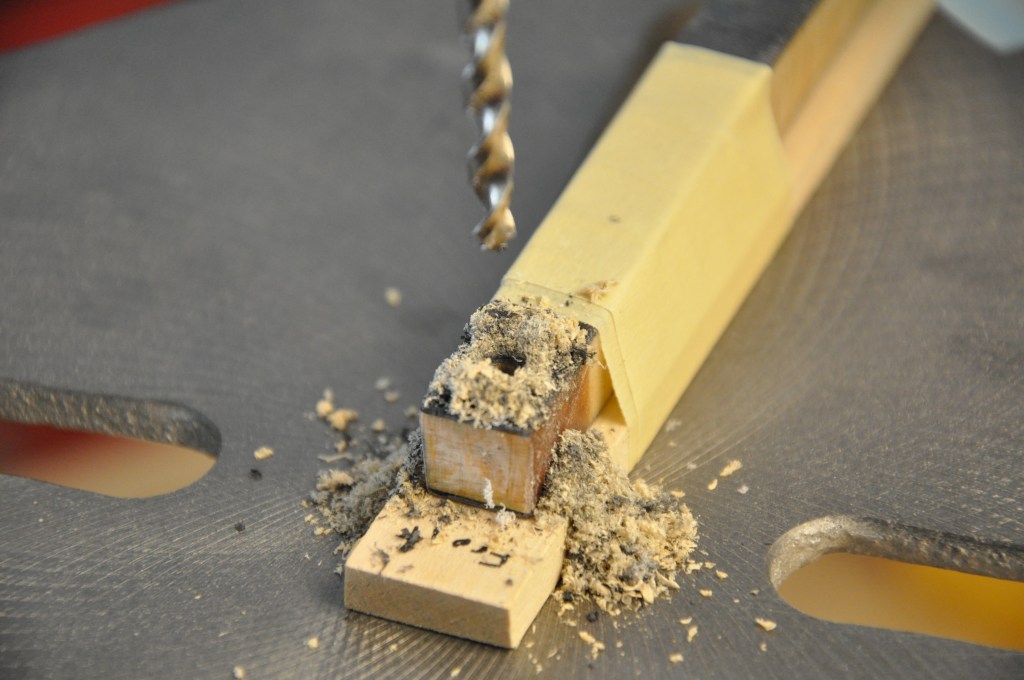
Drilling the bolt holes in the beam.

The finished bolt beam awaiting a center panel to
place it into.