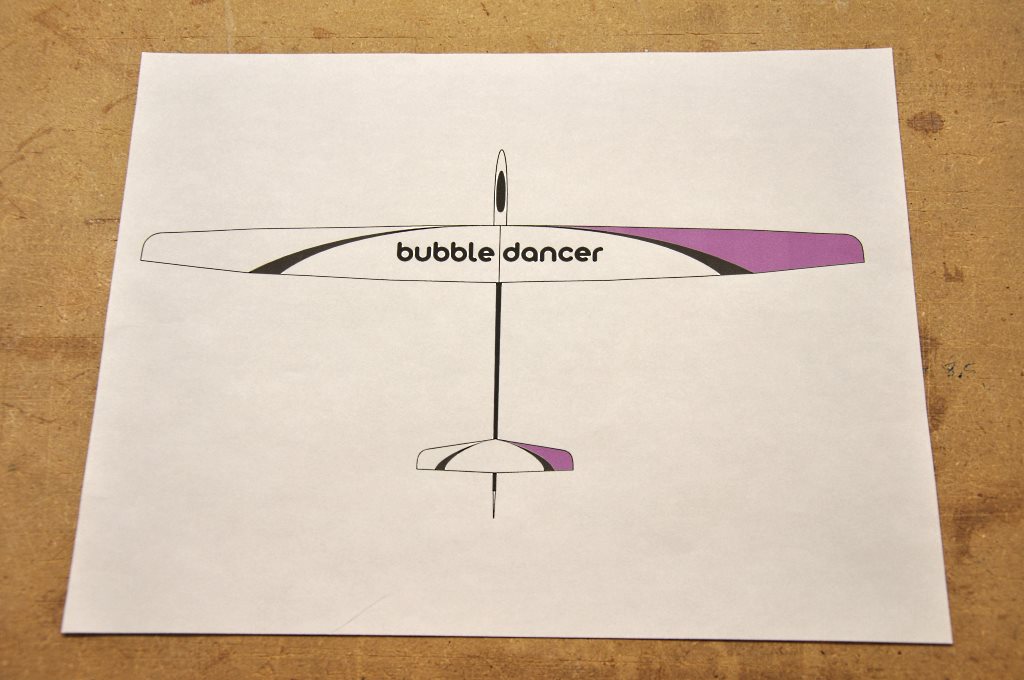
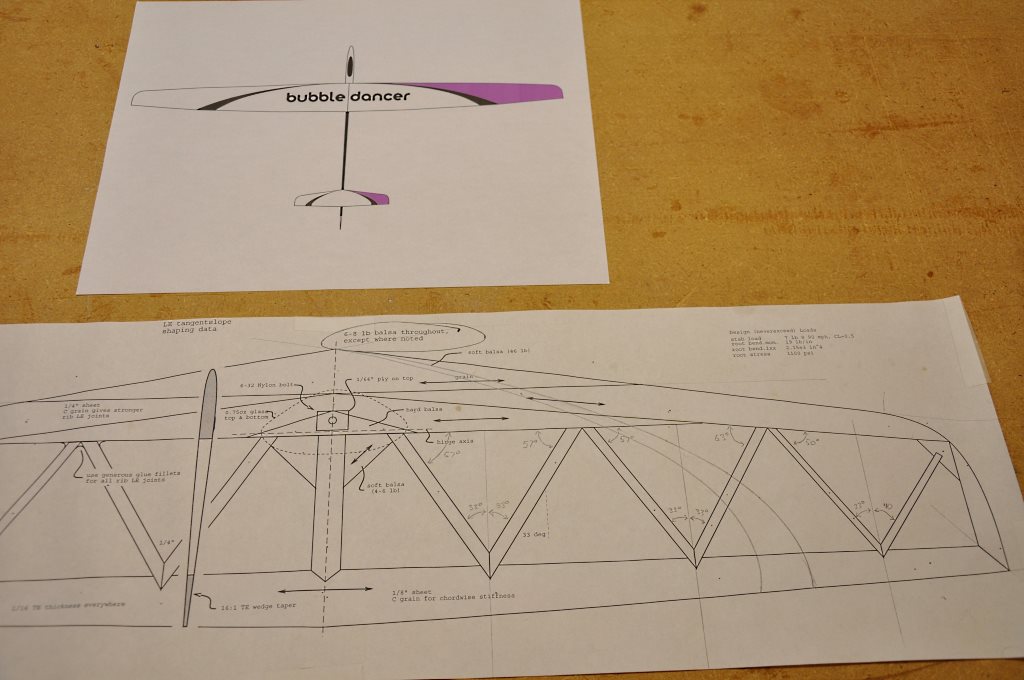
Since it is always good to know where you are
going when you start your covering project, I made a printout of my
design for the top view of the glider. (the bottom is going to
be pretty simple, so I didn't draw it out...)
How did I do the drawing? Easier than you might think... I imported bd_V3.pdf into Inkscape and removed everything but the glider outline. From there it was a simple matter to create the vector shapes I needed for the swoops and color blocks.
How did I do the drawing? Easier than you might think... I imported bd_V3.pdf into Inkscape and removed everything but the glider outline. From there it was a simple matter to create the vector shapes I needed for the swoops and color blocks.

On my first Bubble Dancer, I used opaque
Ultracote for the covering - this was a style choice on my part, but
one not without weight consequences...
So as a matter of curiosity, I was interested in the weight difference between standard opaque Ultracote and transparent Ultracote.
So I cut two 1 foot square pieces of Ultracote and weighed them.
Here we see that opaque white is 8.7 grams for a square foot.
So as a matter of curiosity, I was interested in the weight difference between standard opaque Ultracote and transparent Ultracote.
So I cut two 1 foot square pieces of Ultracote and weighed them.
Here we see that opaque white is 8.7 grams for a square foot.

A square foot of transparent purple Ultracote is
only 3.6 grams by comparison.
Although I had already made the decision to use transparent covering this time around - getting real measurements of the difference solidified the choice.
For those wondering why the roll of covering in this picture looks smaller than the white roll above - the scrap of covering I used was not big enough for a 12" x 12" piece - so this piece is 9" x 16" (still 1 square foot.) :-)

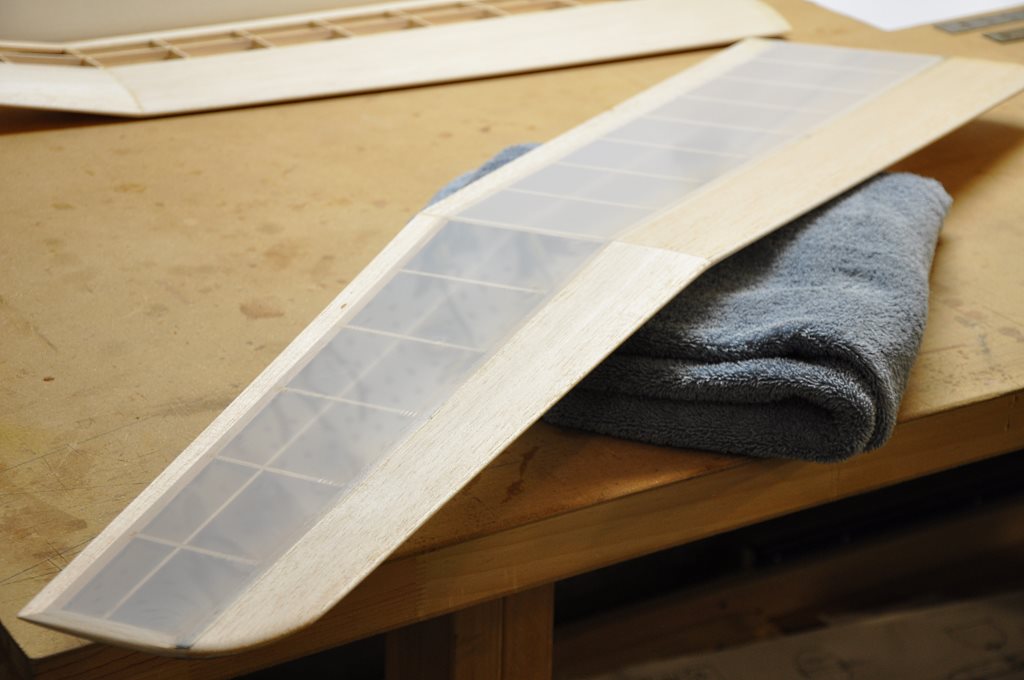
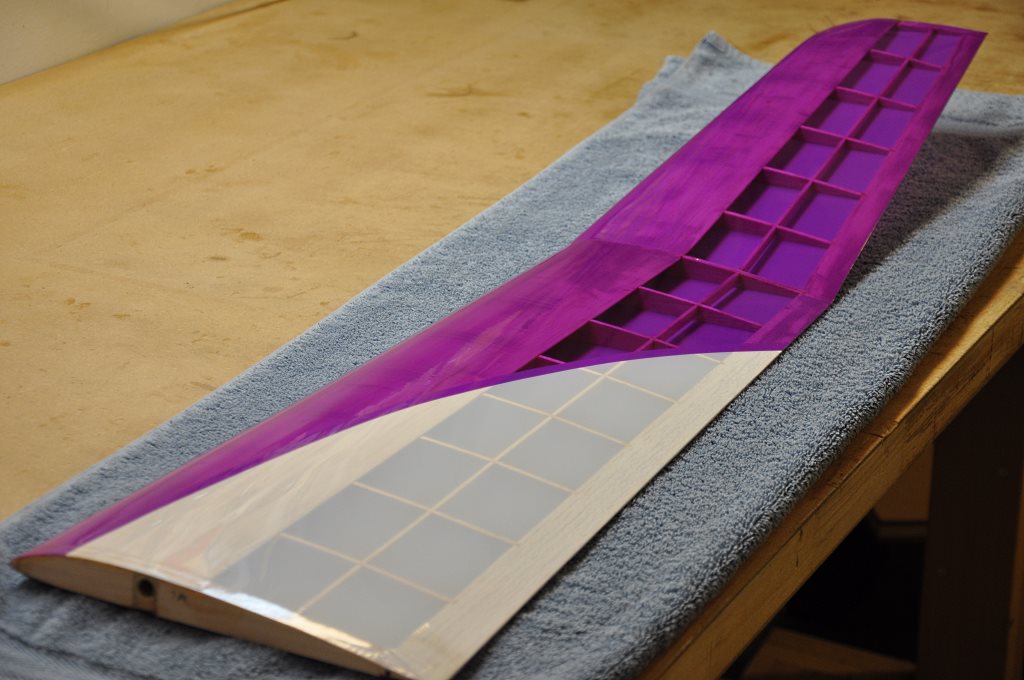
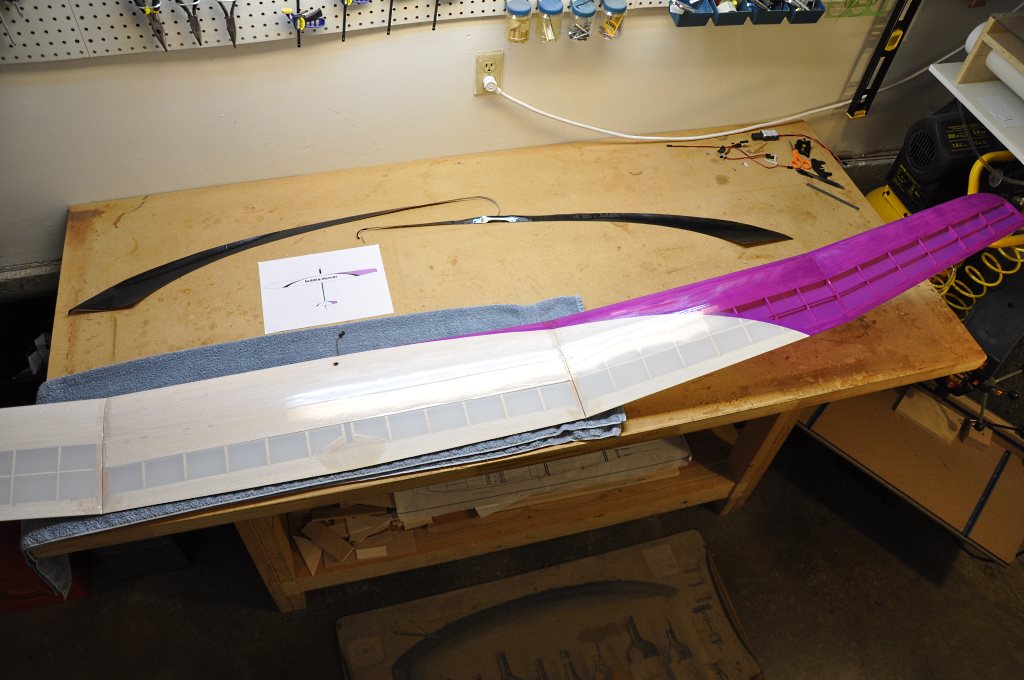
My very simple plan for the bottom of the wing is
to use transparent white on all the open areas and then cover the
solid areas with transparent purple.
My interest in doing this will become evident as I cover the top, because a large section of the top will be white and I did not want a colored bottom competing with the white on top.
My interest in doing this will become evident as I cover the top, because a large section of the top will be white and I did not want a colored bottom competing with the white on top.
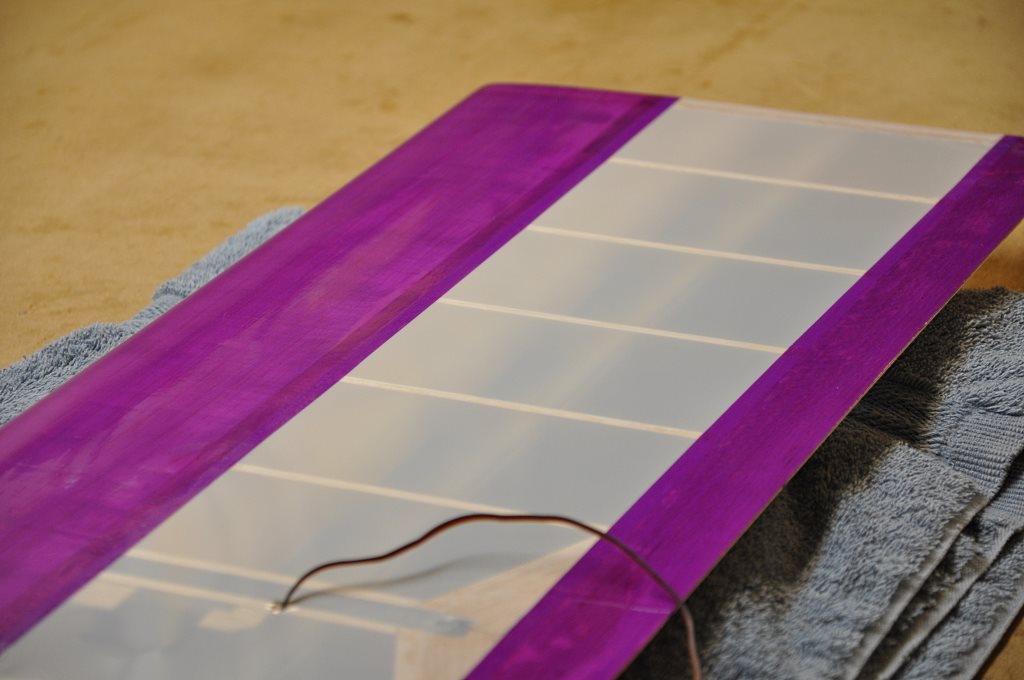
Once the white was on, I ironed on the purple.
This sort of design is very simple since I can use a long straight edge and my X-Acto knife to cut the covering to the exact shape needed before placing it on the wing.
This sort of design is very simple since I can use a long straight edge and my X-Acto knife to cut the covering to the exact shape needed before placing it on the wing.
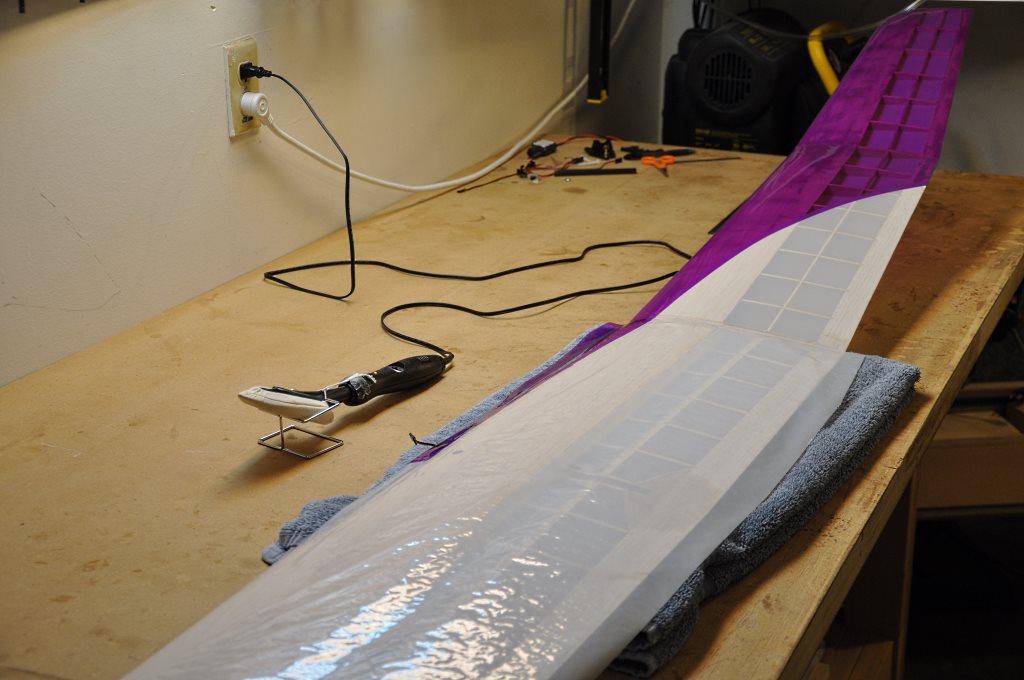
I proceeded to cover the wingtips in the same
fashion as the center panel... white on the open areas first -
then purple on the solid areas.
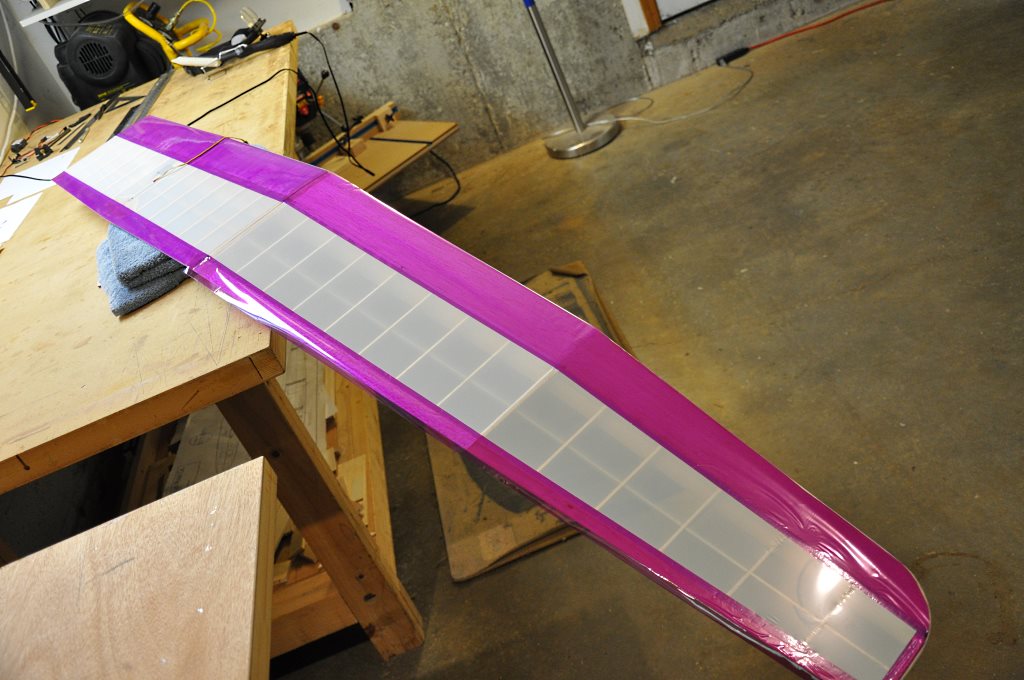
Before ironing on the purple covering, I joined
the wings so that I could ensure that the purple on the tips lined
up exactly with the purple on the center panel.
When the location was set, I separated the panels and ironed the covering in place.
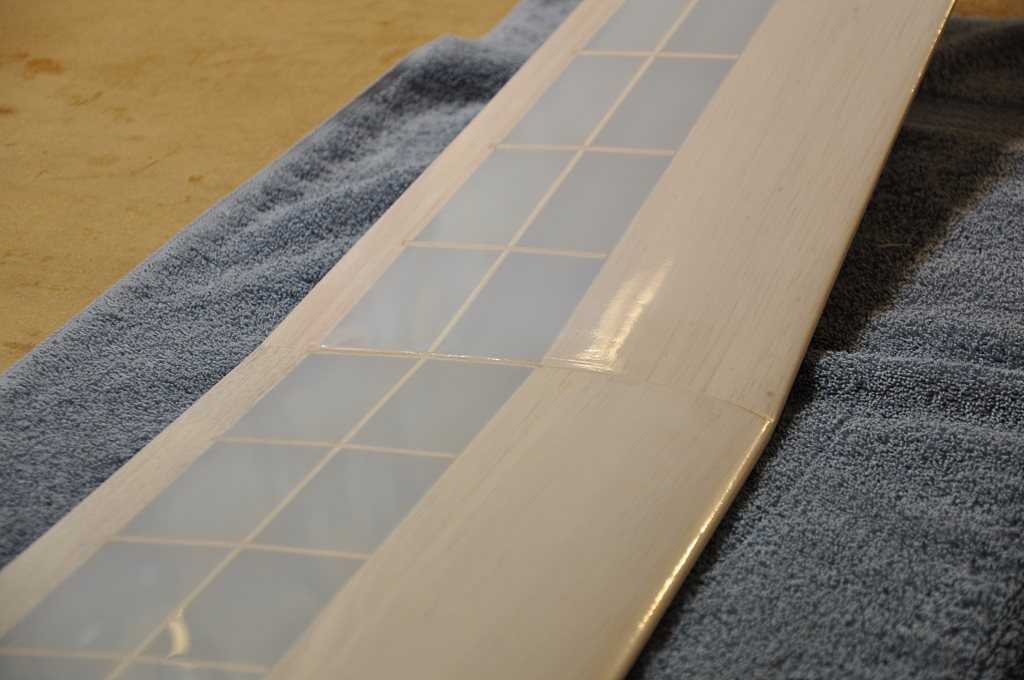
Note: One of the difficulties in using transparent covering is that you will be able to see any overlapped areas - so I tried very hard, where possible, to cut large pieces of covering and avoid overlaps. You will note in this shot that the purple of the mid and tip panel is a single piece...
When the location was set, I separated the panels and ironed the covering in place.
Note: One of the difficulties in using transparent covering is that you will be able to see any overlapped areas - so I tried very hard, where possible, to cut large pieces of covering and avoid overlaps. You will note in this shot that the purple of the mid and tip panel is a single piece...
Once the bottom was done, it was time to start
work on the top.
My plan calls for the top to be entirely white - with the exception of the right wingtip - so I grabbed my rolls of white and set to work...
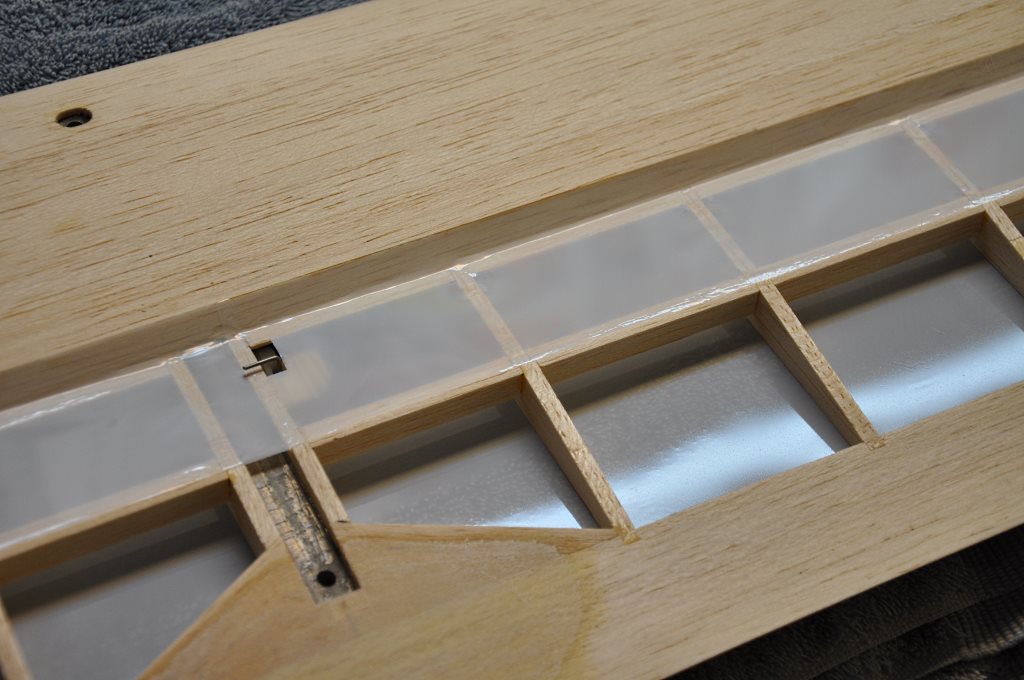
The spoiler bay needs to be covered first. I measured the dimensions of the bay and cut a piece of covering to the exact size. I cut a slot for the servo horn and wire and then ironed the covering in place.
My plan calls for the top to be entirely white - with the exception of the right wingtip - so I grabbed my rolls of white and set to work...
The spoiler bay needs to be covered first. I measured the dimensions of the bay and cut a piece of covering to the exact size. I cut a slot for the servo horn and wire and then ironed the covering in place.
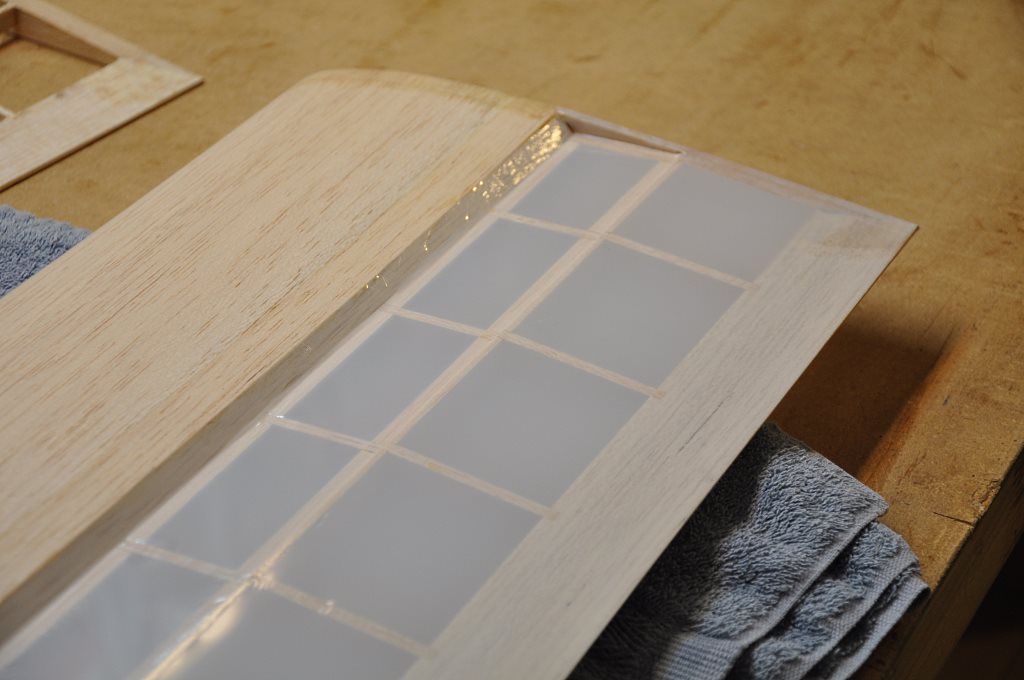
The next step was to cover from the spoiler bay
to the trailing edge.
After the trailing edge was done, the natural
next step would have been to cover from the spoiler to the leading
edge. However I wanted to cover the spoiler and the front of
the center panel as a unit and needed to wait until the bottom
portion of the spoiler was covered.
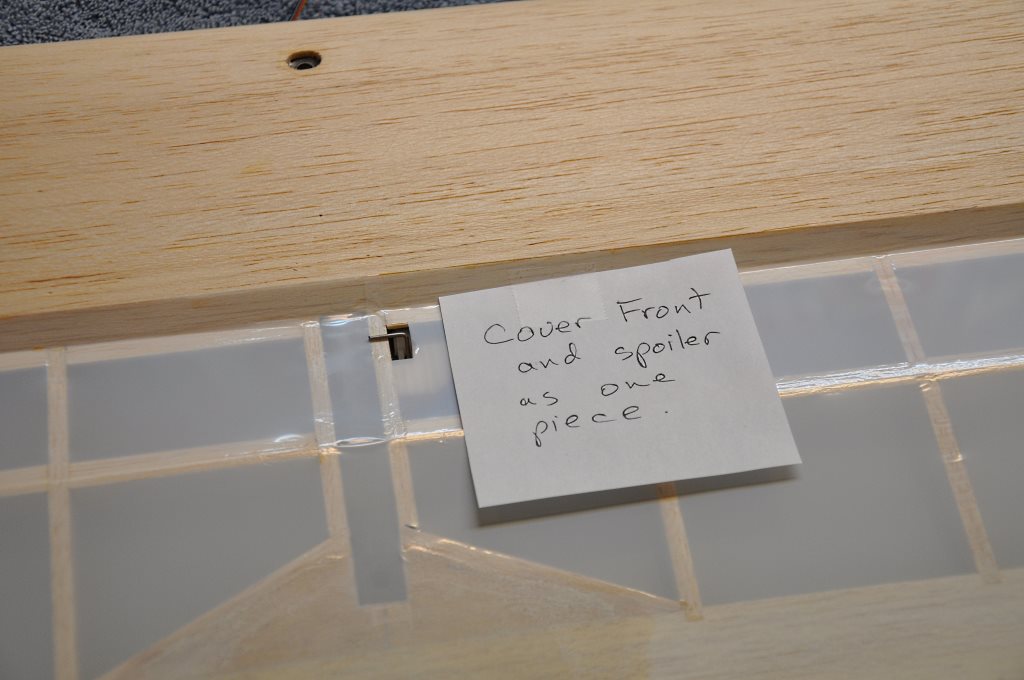
I found myself reaching for the panel to cover it on several occasions and had to stop myself each time... finally in frustration, I wrote myself a note.
I found myself reaching for the panel to cover it on several occasions and had to stop myself each time... finally in frustration, I wrote myself a note.
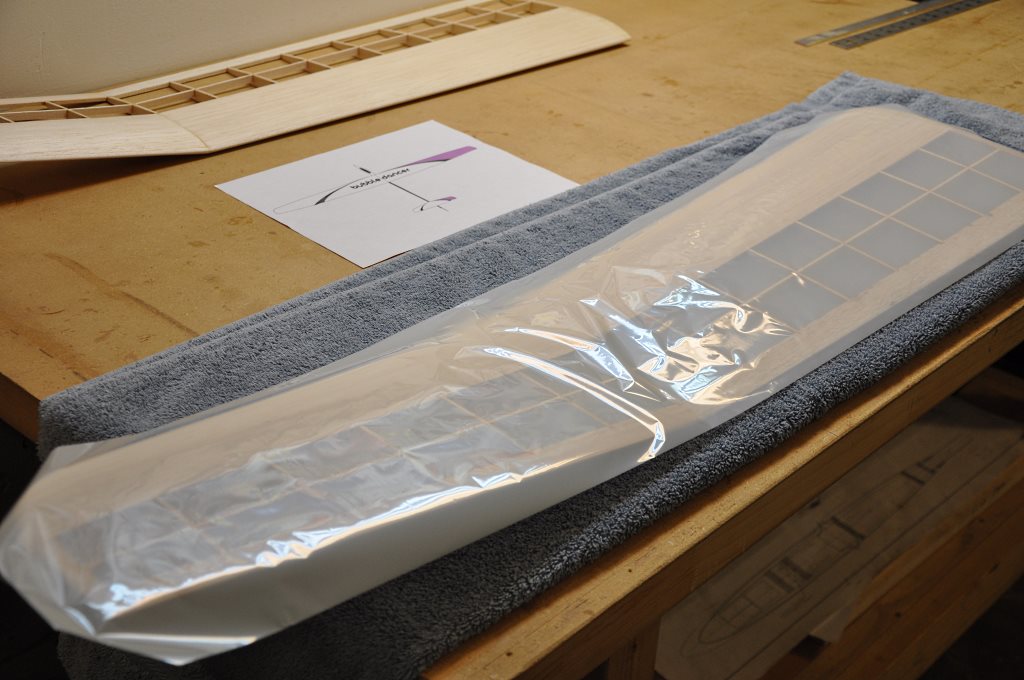
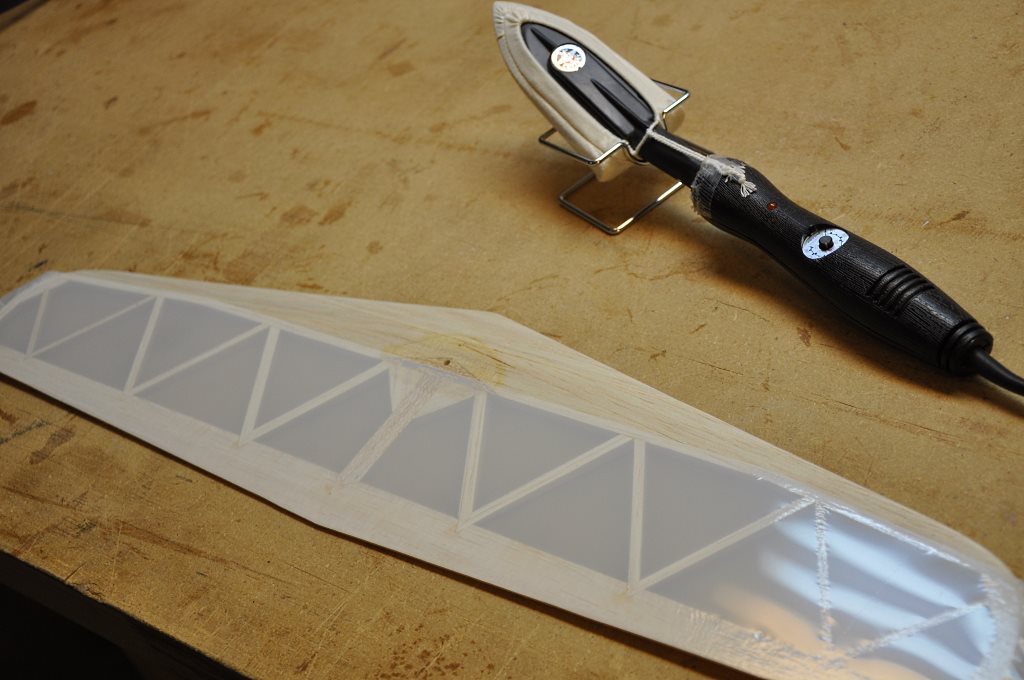
Ok, so remember how I said that I wanted to avoid
overlapping the transparent covering to avoid creating lines on the
wing? - I'm going to cover the wingtips with one piece of
covering!
Warning! This is not a recommended procedure! The way to use covering is to cover in straight sections. In this case that would mean covering the mid panel and then with a separate sheet, covering the tip panel.
However, in my experience with Ultracote, I have been so completely blown away with its ability to conform and shrink to compound curves that I decided to give this a try... So carefully pulling and stretching, and heating and pulling and stretching some more...
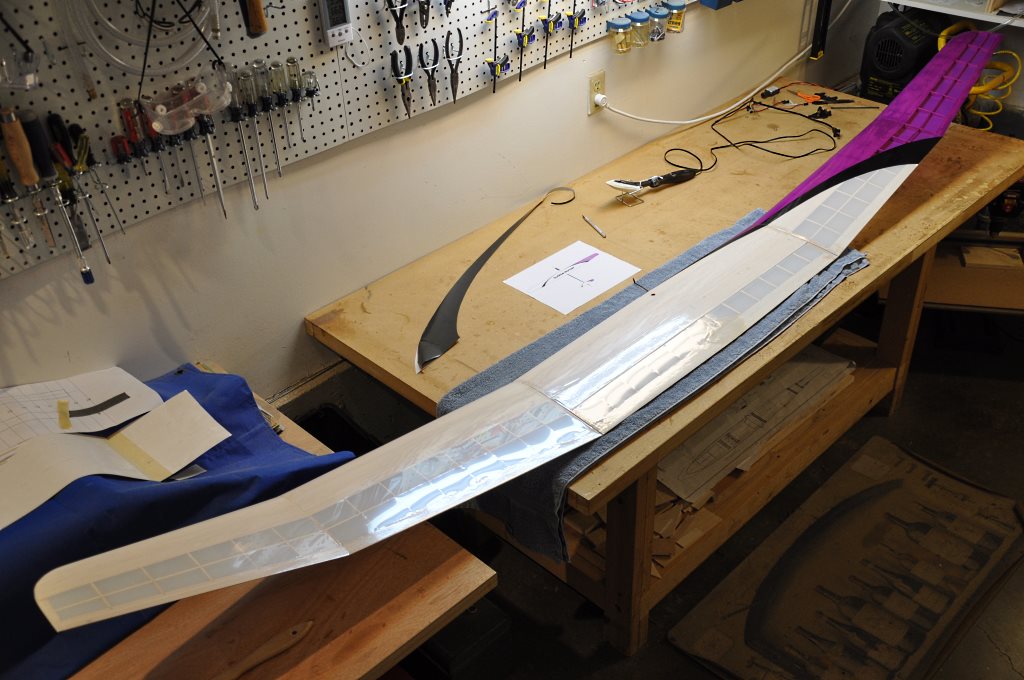
...We achieved this!
A very nice compound curved single sheet covering of the mid and tip panels with no covering overlap at the joint.
A very nice compound curved single sheet covering of the mid and tip panels with no covering overlap at the joint.

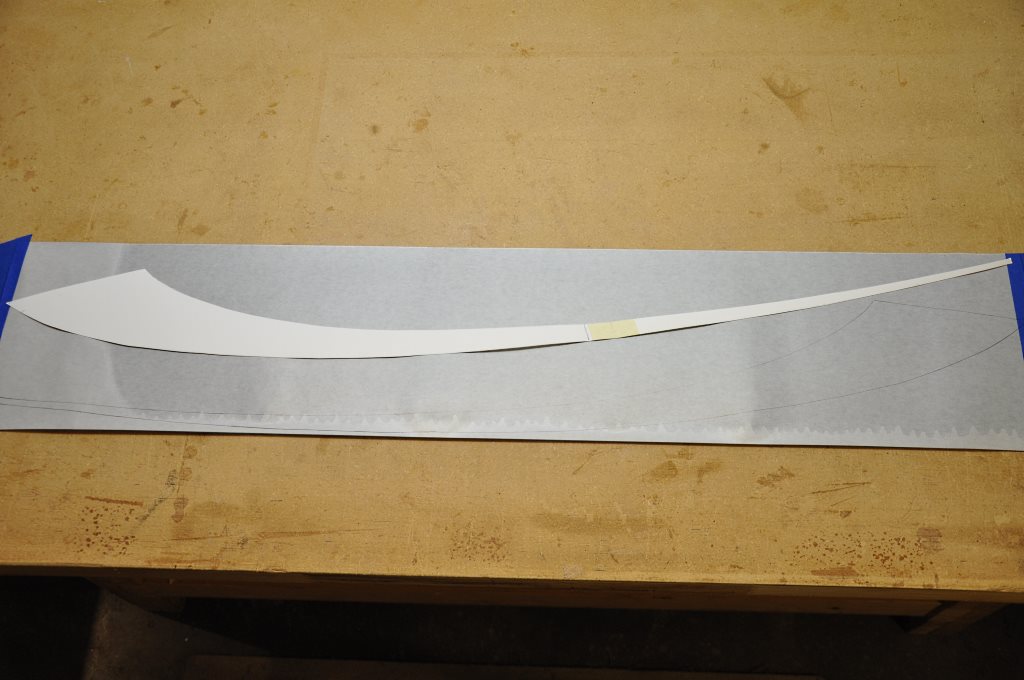
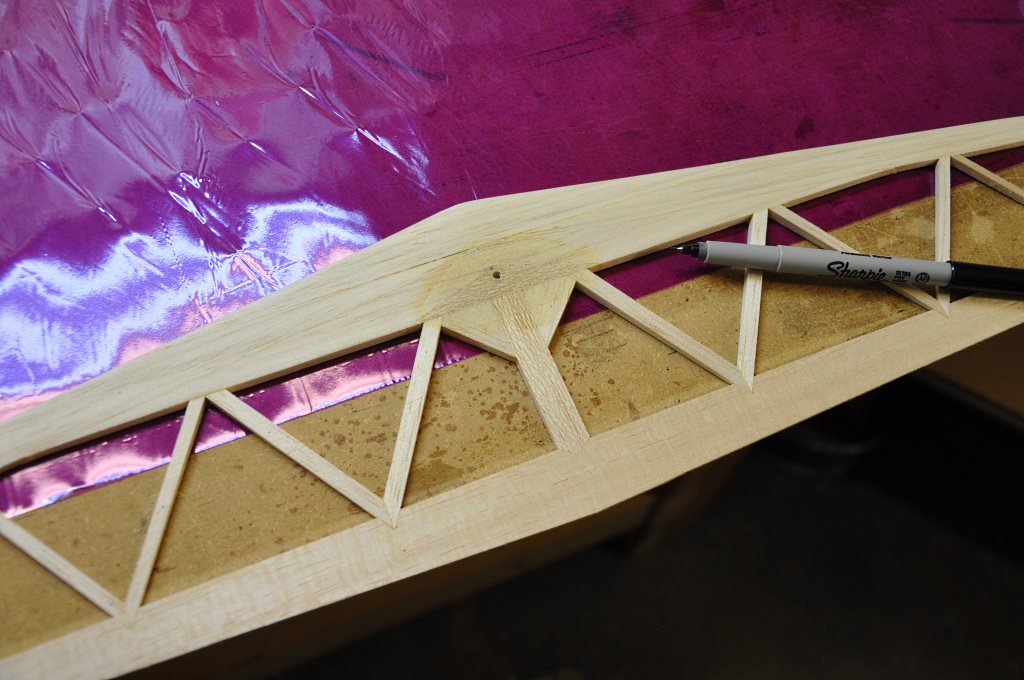
At the start of the covering process, I had made
a template for the black "swooshes" that will be used on the wings.
I used that template to guide me in cutting a section of white and a section of purple Ultracote that would go on the right wingtip.
You can see the template under the covering here. I draped each color in turn over the swoosh and using a black marker drew a series of dashes to guide my cuts.
I then tacked to purple covering over the white to make a single sheet of covering for the entire wingtip.
Again, using some serious pulling and shrinking
and stretching, I managed to get the covering around the compound
bends at the wing joint.
Now we can get back to the center panel.
When I cut out the purple for the wingtip, I had actually done the entire purple curve for the center, mid and tip panels as a single piece and then cut it at the wing joint.
Now I tacked that remaining purple to the front of the white of the center panel.
When I cut out the purple for the wingtip, I had actually done the entire purple curve for the center, mid and tip panels as a single piece and then cut it at the wing joint.
Now I tacked that remaining purple to the front of the white of the center panel.

In this shot, I have already covered the
underside of the spoiler leaving about 1/4" inch extra at the
trailing edge. The overlap will be tacked to the top covering
to create a nice flap over the back edge of the spoiler.
The recommended way to cover the spoiler is listed here, and in my old build here, but in a continuing (and most likely misguided) effort to avoid any overlapping of the transparent covering - I'm going to attempt to do it all in one shot...
I taped the spoiler into position and started covering from the leading edge - eventually bringing it over the spoiler and onto the 1/4 overlap from the bottom. I then cut the excess to a nice 3/16" flap.
My black "swooshes" will be cut from "Pearl
Charcoal" Ultracote - yes, I know... this is the heavy opaque stuff,
but there is no transparent black available...
At any rate, I traced and cut out two swooshes, being mindful to flip over the template before doing the second one.
At any rate, I traced and cut out two swooshes, being mindful to flip over the template before doing the second one.
Now we I am ready to apply the swooshes to the
wing.
I want the two swooshes to look like a continuous curve, so for that to happen, I need to work with the wing completely assembled.
I tacked on the swoosh first, then cut it carefully at the joint.
I want the two swooshes to look like a continuous curve, so for that to happen, I need to work with the wing completely assembled.
I tacked on the swoosh first, then cut it carefully at the joint.
One swoosh on - one to go.
I seriously considered leaving the plane like this: only one swoosh. I happen to like asymmetry, so having the left wing entirely undecorated would not have bothered me at all.
I seriously considered leaving the plane like this: only one swoosh. I happen to like asymmetry, so having the left wing entirely undecorated would not have bothered me at all.
Ok, let's step back in time a few days to look at
the creation of the "bubble dancer" wording that will be applied to
the center panel.
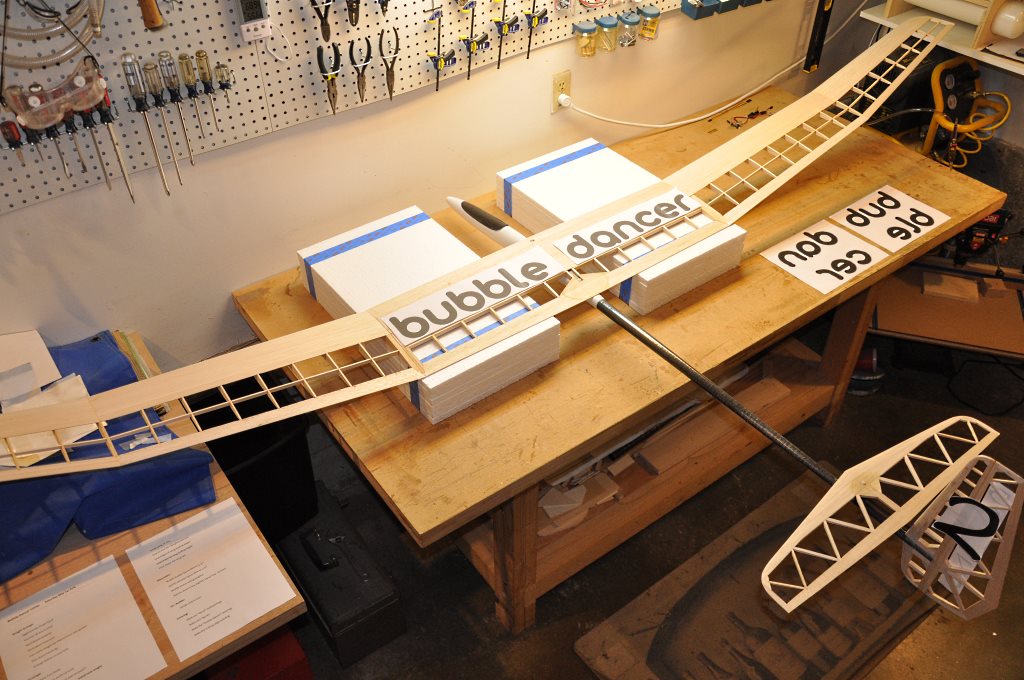
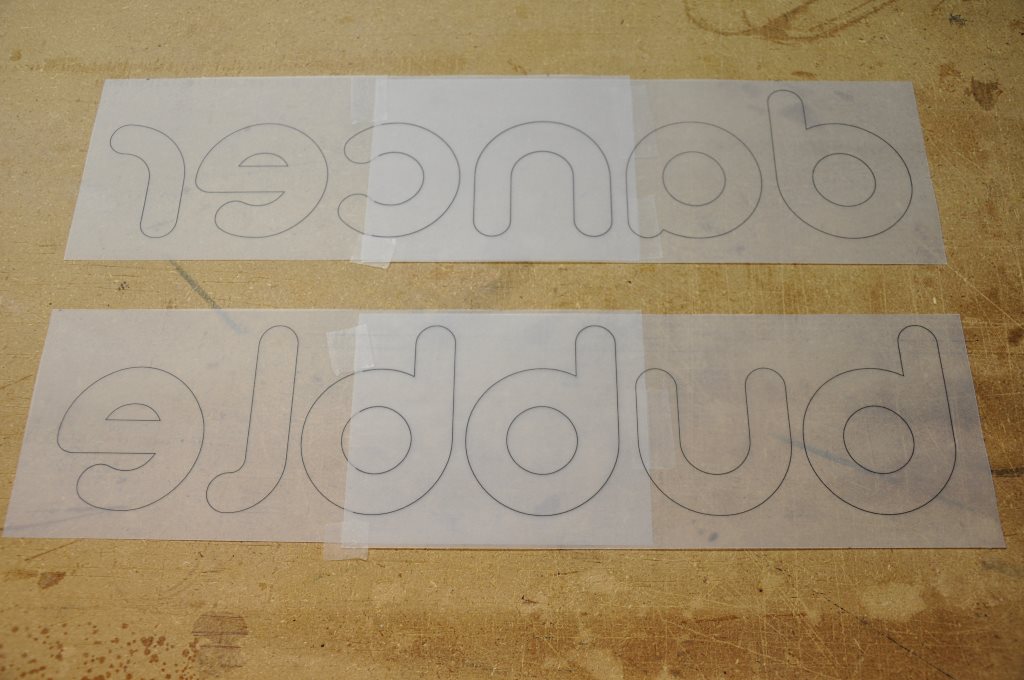
I printed out and finalized the size and location of the words and then generated 2 "cutting sheets" by printing the letters in reverse.
You can see the two sheets laying on the table. This is just regular printing paper.
You will also notice some numbering on the vertical fin that I was contemplating using - but discarded in the end due to balance considerations.
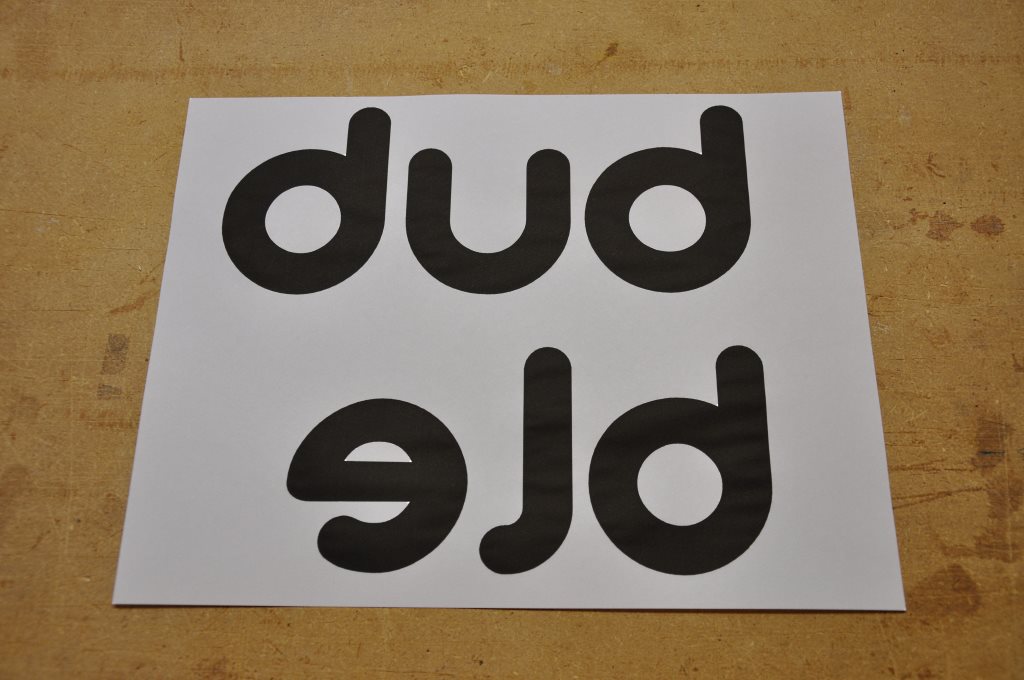
Here we see how the "cutting sheet" is printed in
reverse.
The cutting sheet is simply a guide that will help me in cutting out the Ultracote letters.
The cutting sheet is simply a guide that will help me in cutting out the Ultracote letters.
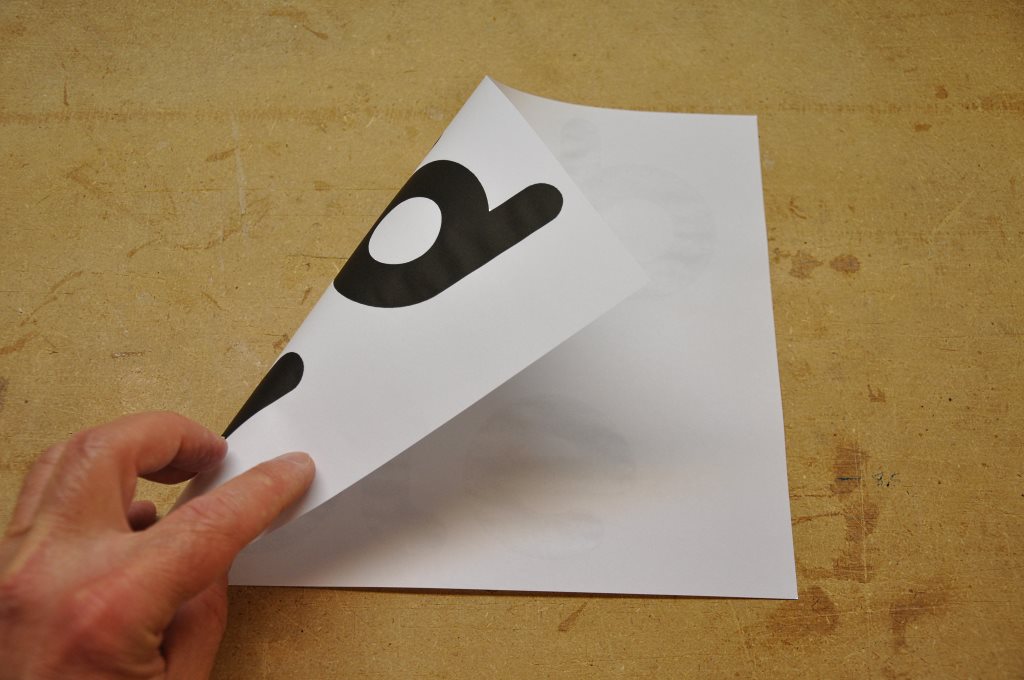
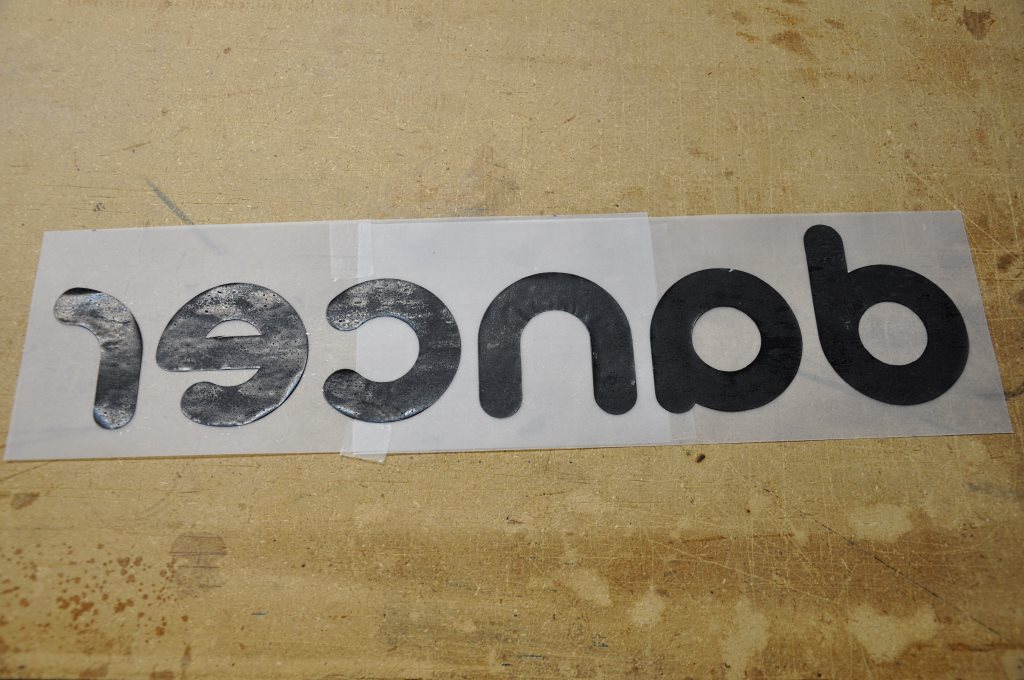
I then flipped the sheet over...
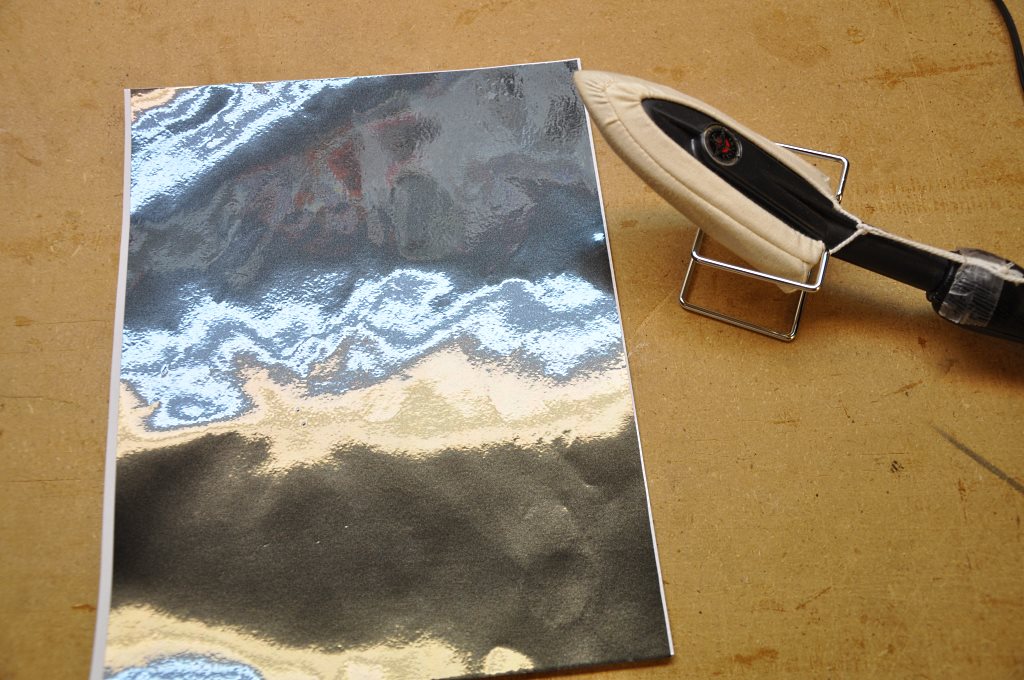
...and lightly tacked the pearl charcoal
Ultracote to the paper.
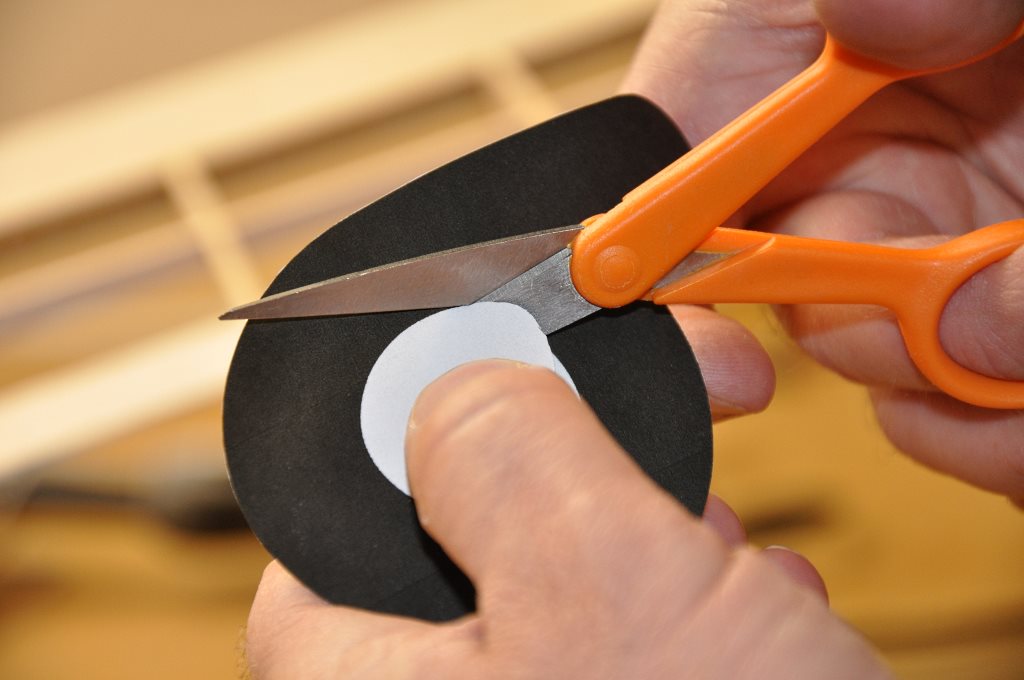
Then it was just a matter of using a sharp
scissor to cut out each letter.

Once all the letters were cut, I dunked them into
a tub of warm water. This allowed the paper to separate from
the covering.
If the paper doesn't separate on its own, a little gentle rubbing with your finger will help it along...
If the paper doesn't separate on its own, a little gentle rubbing with your finger will help it along...
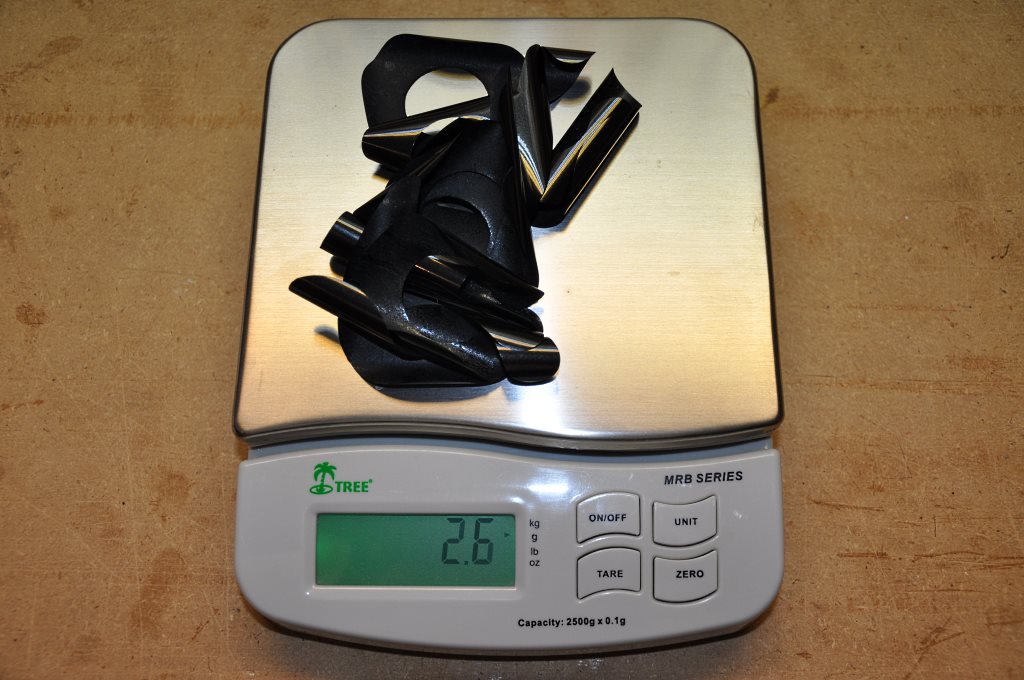
Paper removed, covering dried... we can now see
what the weight penalty will be for this frivolity.
Sigh!
I now faced the issue of getting these curled up
letters into their proper place lined up on the wing.
After scratching my head a bit on the issue, I grabbed some velum paper that I had (the primary need here was transparency) and printed an outline version of my letters in reverse.
Since each word was longer than a single sheet of paper, I printed enough of each word onto a page to allow some overlap which then allowed me to line up and create each whole word.
Next, I lightly misted some 3M #77 onto the velum
and carefully placed the letters.
Be sure to mist the #77 very, very, very lightly - too much will wet the velum and make it curl.
Be sure to mist the #77 very, very, very lightly - too much will wet the velum and make it curl.
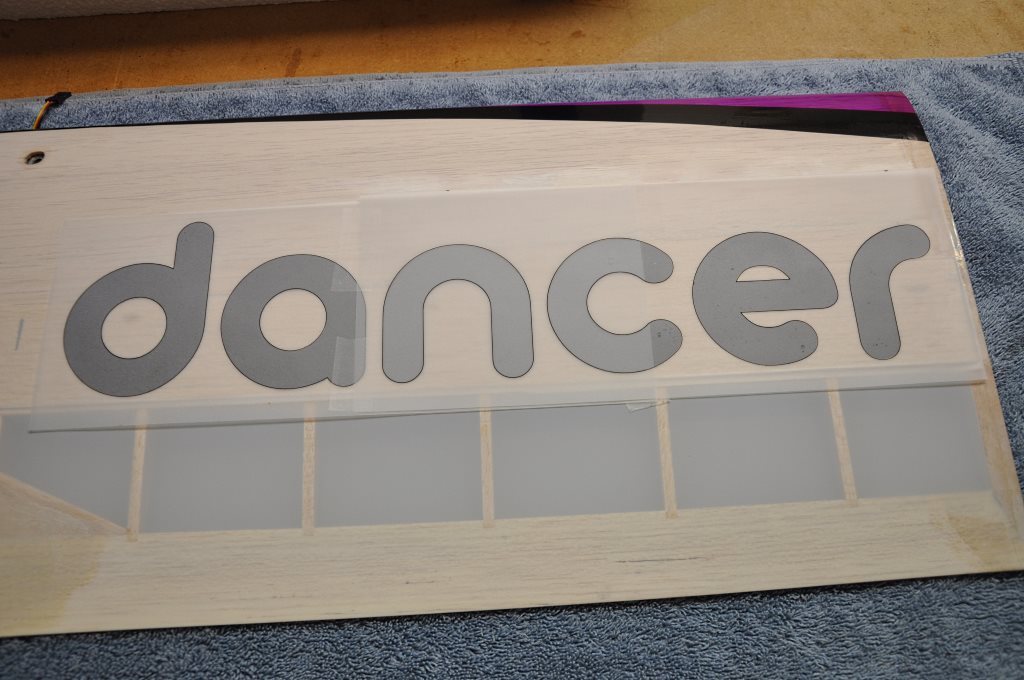
I then flipped the velum and letters over, placed
them on the wing, and tacked them in place with the iron.
I carefully peeled the velum off the wing - remember, the 3M #77 is still stuck to the letters (and now a bit to the wing, as well).
At this point the wing is a bit of a mess with residual #77 on the letters and wing - to remove the residue, use a little paint thinner on a paper towel... ...and then use some light dish detergent and water to remove the paint thinner residue!
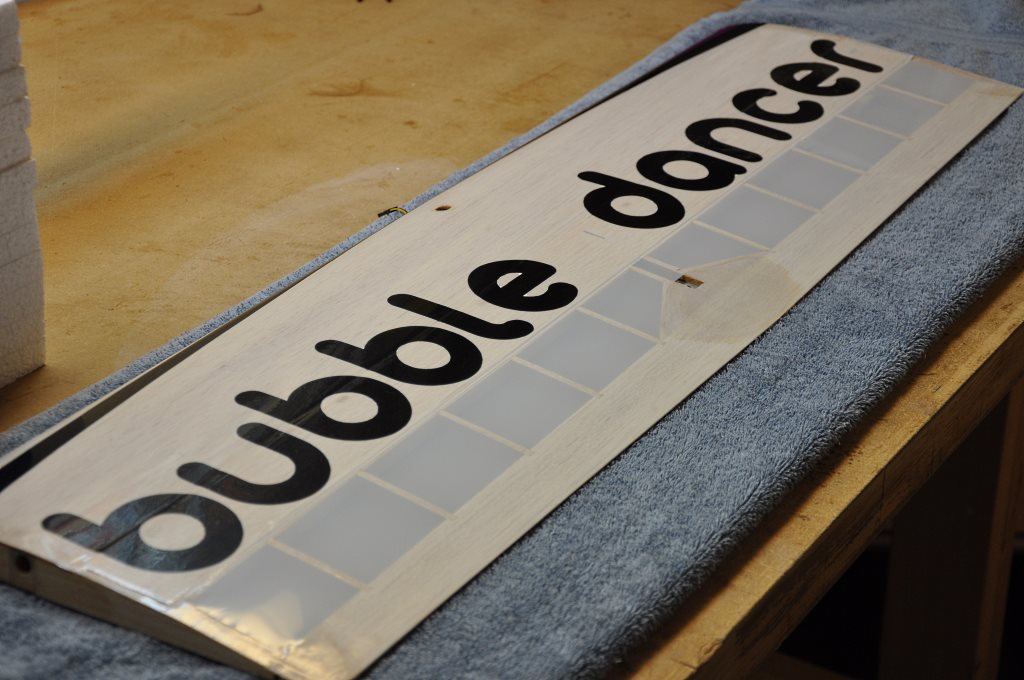
Letters on, looking suitably "bubbly".
Next we move to the horizontal stabilizer.
I used a French Curve to trace out my "swoosh" pattern onto the stabilizer plans. Then I cut the swooshes from the pearl black covering.
I used a French Curve to trace out my "swoosh" pattern onto the stabilizer plans. Then I cut the swooshes from the pearl black covering.
I placed my stab onto the purple covering and
traced out the inside edge of the solid part of the stab. This
will be for the underside of the stab.
I cut the purple covering and set it aside until the white covering was on.
I cut the purple covering and set it aside until the white covering was on.
I proceeded to cover the white section and then
added the purple.
The top of the stab got the same sort of treatment as the top of the wing.
Finally, the tail was simply covered all in white.
Done.
The top of the stab got the same sort of treatment as the top of the wing.
Finally, the tail was simply covered all in white.
Done.
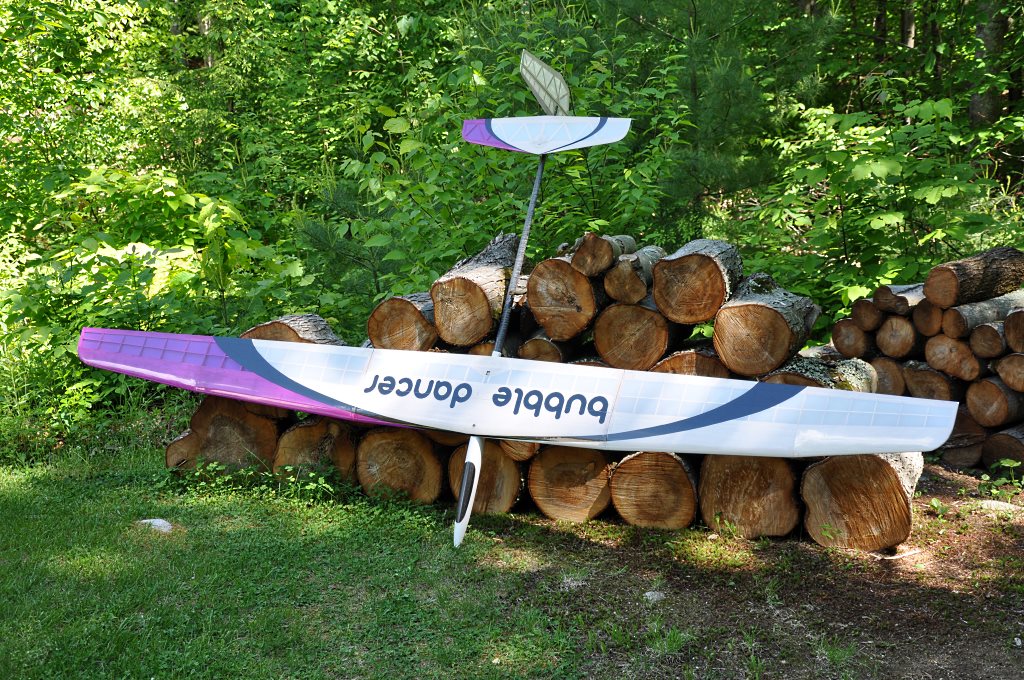
The finished plane poses next to my other
woodworking project...